Showing posts with label color work knitting. Show all posts

Thursday, January 31, 2013

Duplicate Stitch How-To

I'm back! And this time I'm getting back into the swing of this whole tutorial thing.

I frequently use duplicate stitch in my knitting. I use it to reinforce any seaming I do, and to reinforce thumbs on gloves and mittens, it's also a good alternative for new knitters who are still scared to attempt other colorwork methods, like Fair Isle or intarsia, to put a design on a piece of knitting after it's completed. Duplicate stitch isn't difficult, all you'll need is your project, a tapestry needle, and a similar weight of contrasting yarn. Duplicate stitch, in my experience, only works on stockinette pieces of knitting. When you're looking at stockinette stitch, you'll see that the individual stitches look like little tiny "v's."


You'll need a contrasting yarn, or the same color of yarn if you're reinforcing a seam or area of your knitting. It's important that the two yarns are the same weight, otherwise the constrasting yarn will bulge, or it won't cover the underlying stitches completely. If you don't have two yarns of the same brand or weight, you can substitute certain yarns. For example, if you're working with worsted weight yarn, you can use a double strand of DK yarn to duplicate stitch.


1. Thread a tapestry needle with contrasting yarn. (Don't thread too much onto the needle, it's better to have a few more tails to weave in when finished than pulling feet and feet of yarn through your work, and having a tangled mess on the wrong side of the fabric.) Insert the needle into the base of a stitch, right where the two legs meet at the bottom of the "v." Pull the yarn through, leaving a 6 inch or so long tail. 


2. Now insert your tapestry needle into both legs of the stitch above the stitch you originally pulled your constrasting yarn through. Pull the yarn through the two legs, but not too tightly. Just as with knitting, you'll find a tension that works for you with practice of this technique, like Ma' always said "Practice makes perfect." And something about patience, what was that again?


3. Re-insert your needle right back into the base of the stitch that you originally started in, and now you'll see how the contrasting yarn rests right over the two legs of the stitch, effectively masking the original color. I like to think of it like I'm drawing an upside down triangle over the stitch, using the legs of the stitch about it. 


In the end, you should have something that looks like the picture above, neat little duplicate stitches square over your original work. Experiment with this technique to create beautiful motifs, or finished objects that will withstand the forces of nature. 

As always, if you have any questions, would like a PDF version of this tutorial, or have any requests you can contact me at Ashley.Mishmoshcrafting@gmail.com 

Allonsy! 


Friday, January 25, 2013

On The Needles

Wow! It has been awhile since I've mosied over to my very own blog. I'm sorry guys... if any of you followers are left!

Life has been absolutely crazy for me lately. My husband and I have been handling his outprocessing, and getting me moved back home to Michigan while he's abroad. On top of that, we've been trying to get information on how to handle our move to Italy once his service overseas will be done. It's been a mess. But we did our best to enjoy this last years festivities together, as we won't be able to be together next Christmas.I also had a bad bought with the flu, and then a back injury during the holiday season, so I'm finally bouncing back from that.

And then (yes, there's more) my sister announced that she's 3 months pregnant with her first child. Being a dutiful sister and soon-to-be-Aunt, I, of course, have launched head first into tons and tons of baby knitting. The silver lining of all this baby knitting is that it's pushed me out of my "comfort zone" with my knitting. I seemed to have fallen into a hat, cowl and mitten slump and now I'm having to get back into doing all of that small circumference in-the-round work.

So, now that I'm done making excuses for my abcense, it's time to get back to the blogging! It will be nice for me to have something to be a bit of a distraction when the hubs does leave.

I have several WIP's going on right now (If you're new to knitting or crochet - a WIP is a "work in progress"), it's an illness really - I can't stop myself from casting on every pretty, or cute item that catches my eye or tickles my fancy.


The Inga Hat (Found here on Ravelry!), this hat has been an experience for me. Being that it's the first time I've done a pretty heavy piece of color work, and haven't had to frog back rows and rows of my work at a time (touch wood!), and I'm nearly finished. 


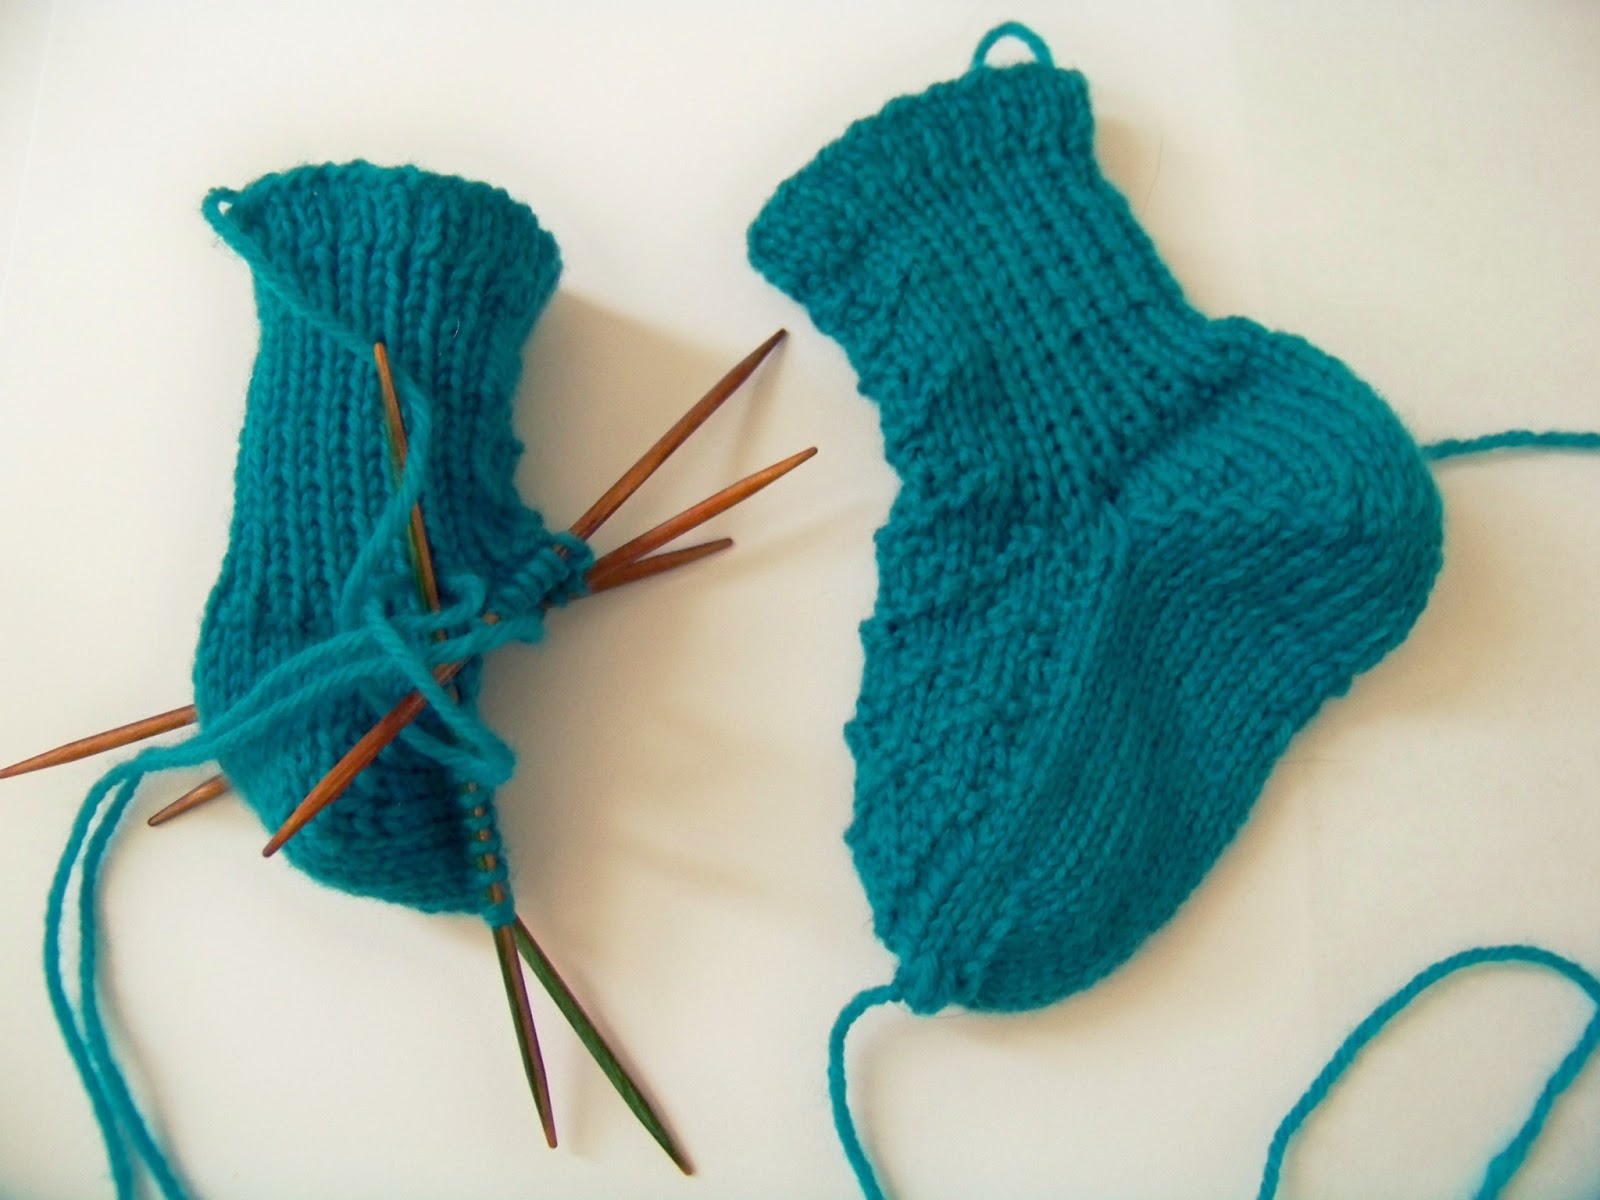
Fair warning, though, this sock pattern has been very frustrating for me. The directions have been rather vague and hard to follow, and I've found myself having to figure a lot of it out by trial and error (and way too much frogging for what should be a quick knit). Although it's entirely possible that this is a personal problem, and I'm a little more dense than I'd like to admit. For the brave, or the more talented, the sock pattern can be found here.


These gloves are being completely patterened by myself. I couldn't find a pattern on Ravelry that really fit my needs, or that my husband liked. So I decided to give it a go myself and see what I could come up with. When I finish, I'll most likely post the pattern here.


The last of the current WIPS, it's a baby towl for my sister, which will have a hood and be a frog when it's all wrapped up. 

And that's all she wrote, folks! I'll definitely be back with more tutorials soon! What are all of you working on?!

Allonsy